As you welcome back students for a new school year, there are a few steps we recommend to prepare Symphony Math for use in your school. Please follow the steps below to ensure that you have archived last year's records and are ready for this year's student work:
Step 1: Archive student data (perform for each school)
Sign into your Administration Panel as an Administrator. You must be an administrator so that you have access to all student records.
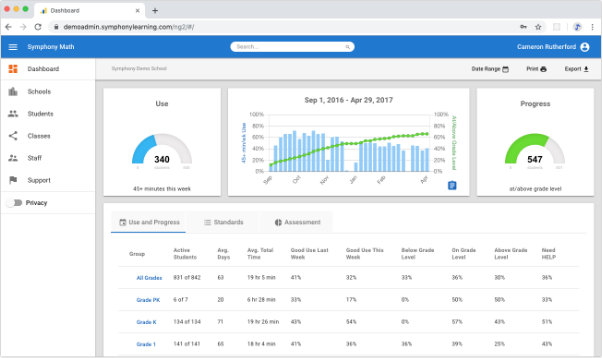
- Press the Date Range button and select 'Last School Year'. You will see all data from last school year.
- Below the graphs, press 'All Grades', then 'All Students' to see data for each student. (This operation may take a minute for larger schools.)
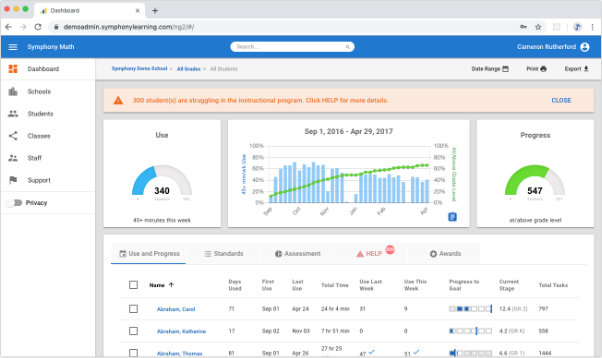
- You now have data shown for all students for the entire previous school year. Use the 'Export' button at the top right of the screen to export all data to a CSV spreadsheet.
- Press the 'Assessment' tab to see that data view.
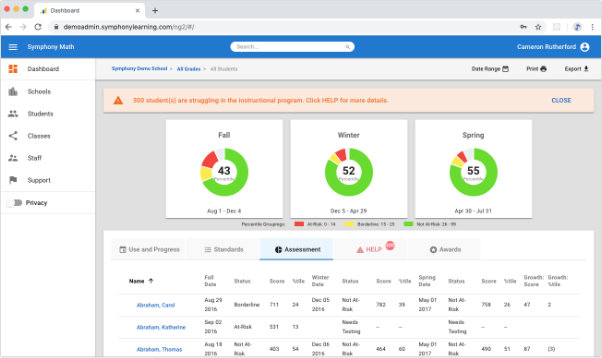
- Press 'Export' again to export all assessment data for students.
Step 2: Update Your School Roster
The Automatic Placement feature in Symphony Math relies on student grade levels in the assignment of content following the first assessment results. So, it is important that all student grades are up to date before the first assessment of each school year. You have two choices for updating your roster:
Choice A: Use the Symphony Import tools
Student rosters can be updated at one time using the 'Import' tools in the Students and Staff tabs. Your current rosters can be exported by pressing 'Export' from the Students and Staff areas of your Administration Panel. Then, you can add, delete and change student information in that file. Your final import file must have the same columns and file format (CSV) as our import template. Click here for more details on the exact format to use for these tools.
Choice B: Manually Update Your Students, Staff, and Classes
- Remove all students from classes. Press 'Classes.' Select the top checkbox to select all classes. Choose 'Remove Enrollment' from the MORE pulldown.
- Move students to the next grade level. Press 'Students.' Select the top checkbox to select all students. Choose 'Promote to Next Grade Level' from the MORE pulldown.
- Add new students to the school roster. Press 'Students.' Press 'Add.' Type the information for the new student account. Press 'Save Changes' when you are done.
- Assign students to their new classes. Press 'Classes.' Select a class name, then press student names and 'Add' to add students to the class. Press 'Save Changes' when you have added all students.
Note: All student data is preserved when student accounts are updated,
unless they are deleted from the account.
Step 3: If Desired, Reset Student Progress
Many schools choose to reset student progress at the end of the school year. Symphony Math uses an adaptive branching engine that quickly moves students through mastered material, and the Automatic Placement feature will bypass content based on student results follow their initial assessment. By resetting student progress, students will have an opportunity to demonstrate mastery in all available content.
To reset existing students' progress:
- Press 'Students' from the left navigation.
- Scroll to the bottom of the list of students and select the largest number next to the Students Per Page setting.
- Select the top checkbox to select all students.
- Select 'Reset Student Progress' from the MORE pulldown.
IMPORTANT: This action is permanent.
Please consult with your entire staff before resetting student progress.
Step 4: Restore Checkpoint Settings
During the school year, student Settings may have been modified to let certain students bypass teacher passcodes for Checkpoints. In doing so, students do not need to get teacher approval in order to move forward after the completion of end-of-Stage checkpoint journaling. To ensure that all students begin the school year with the same default Settings for Checkpoints:
- Press 'Students' from the left navigation.
- Scroll to the bottom of the list of students and select the largest number next to the Students Per Page setting.
- Select the top checkbox to select all students.
- Press the pencil icon in the top right of the list to edit Settings for the selected students.
- Select the box next to 'Require passcode for student Checkpoints'.
- Press Save Changes.